Table Of Contents:
- Key Reasons to Focus on Sub-Floor Preparation for Tile Removal
- Key Takeaways
- Understand the Importance of Sub-Floor Preparation in Tile Removal
- Identify Common Issues During Tile Removal Without Preparation
- Explore Effective Techniques for Sub-Floor Preparation
- Discover the Benefits of Hiring Professionals for Preparation
- Determine the Cost Implications of Sub-Floor Preparation
- Learn How Sub-Floor Preparation Affects Future Flooring Choices
- Frequently Asked Questions
Key Reasons to Focus on Sub-Floor Preparation for Tile Removal
Key Takeaways
- Proper sub-floor preparation is crucial for the longevity and performance of new tile installations.
- Moisture levels, sub-floor materials, and hidden damages significantly affect tile adhesion.
- Effective techniques and professional services minimize the risk of uneven surfaces and costly mistakes.
- Investing in sub-floor preparation can lead to long-term savings and better renovation outcomes.
- Adhering to industry standards ensures a smooth, safe tile removal process.
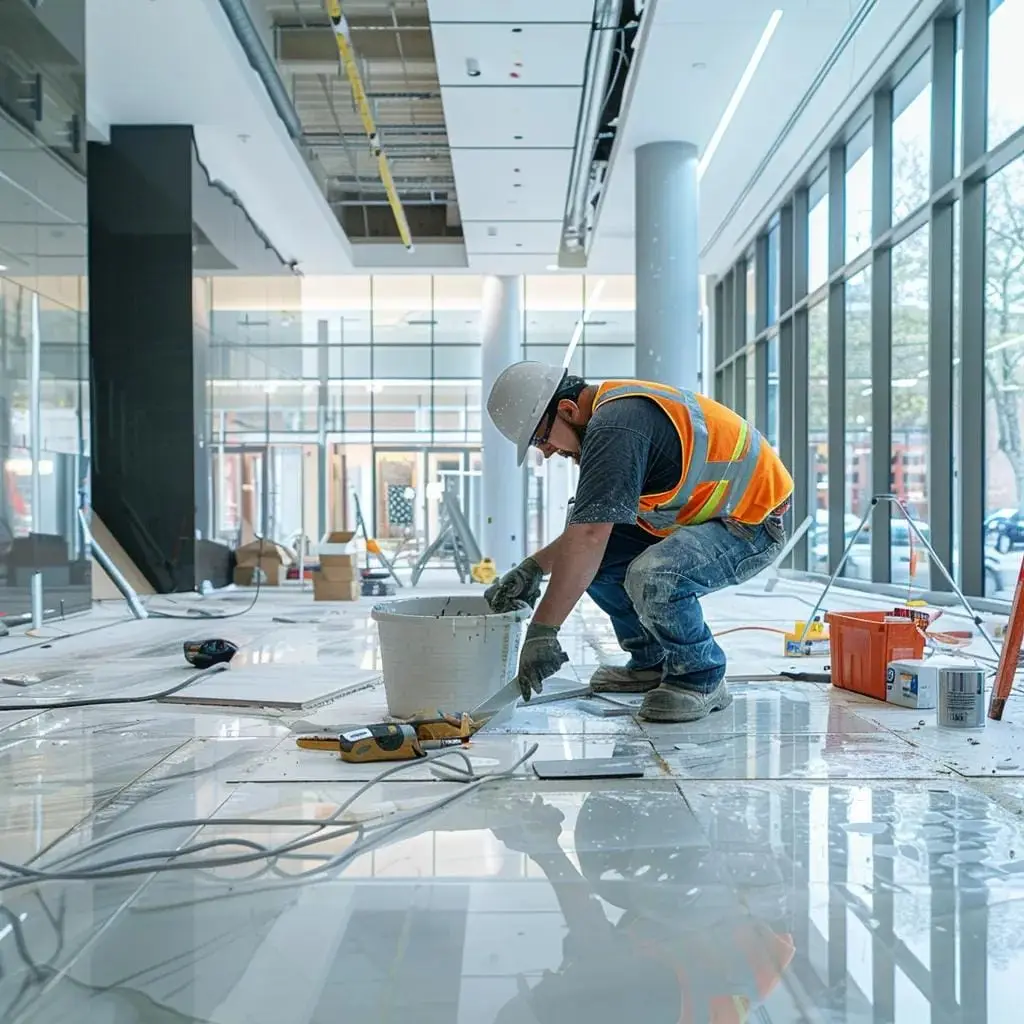
Understand the Importance of Sub-Floor Preparation in Tile Removal
Sub-floor preparation is the foundation of every successful tile removal and installation project. For expert advice, you might want to visit socohome.net for additional insights. The sub-floor’s condition directly influences the durability and appearance of your new tile. Factors like moisture levels, material type, and fla-demo techniques, along with hidden damage, can weaken tile adhesion. Proper preparation creates a stable, clean base that reduces future repairs and enhances the bond between new tiles and the sub-floor.
Learn How Sub-Floor Condition Impacts Tile Installation Success
A well-prepared sub-floor offers a uniform, stable base essential for tile adhesion. exploring tips on socohome.net can help homeowners identify imperfections or previous damage that may cause tiles to crack or separate over time. keeping the surface clean and even, as recommended in
guidelines, ensures that both tiles and adhesives perform their best, reducing the likelihood of future repairs during your renovation.
Discover the Role of Moisture Levels in Flooring Durability
Moisture can compromise
, causing tiles to lift or develop an uneven appearance. Using tools like moisture meters to check and control dampness helps prevent water damage, mold growth, and deterioration of the flooring structure. This is especially important in areas prone to spills, high humidity, or water exposure.
Recognize the Effects of Sub-Floor Materials on Tile Performance
Different sub-floor materials—such as plywood, oriented strand board (OSB), or concrete—react differently during tile removal. Concrete tends to be stable, while wood-based floors may shift if not treated properly. Understanding these differences helps select the right adhesives and installation techniques to ensure optimal performance, whether you’re working with ceramic, porcelain, or even natural stone.
Identify Signs of Damage That Necessitate Preparation Steps
Before starting tile removal, inspect the sub-floor for cracks, bulges, or water stains that indicate structural issues. Even minor imperfections can lead to uneven surfaces or poor adhesion. Early detection allows you to repair damaged areas, ensuring the sub-floor is solid before tile installation begins.
Evaluate the Long-Term Benefits of Proper Preparation Practices
Spending time on sub-floor preparation may seem like extra work initially, but it leads to increased durability, enhanced safety, and lower maintenance costs in the long run. A well-prepared sub-floor prevents issues related to moisture, adhesion, and structural instability, providing a higher quality finish and a greater return on your renovation investment.
Understand Industry Standards Regarding Floor Preparation Techniques
Following industry standards means adhering to expert- and regulator-recommended steps for cleaning, leveling, repairing, and sealing the sub-floor. These guidelines ensure safety, performance, and longevity in tile installations, whether you’re in Houston, Dallas, or anywhere needing dustless floor removal technologies, moisture meters, and HEPA filters.
Identify Common Issues During Tile Removal Without Preparation
Skipping proper sub-floor preparation can lead to several issues during tile removal. Problems may not be immediately obvious but can later cause increased costs, delays, or poor floor quality. Without adequate preparation, you risk uneven surfaces, hidden damage buildup, and extra labor costs that proper planning would have avoided.
Examine the Risks of Damaging the Sub-Floor During Tile Removal
Tile removal without preparation increases the risk of scratching, gouging, or cracking the sub-floor. Such damage compromises the floor’s structural integrity and can lead to misaligned tile installation. Using appropriate tools and techniques is vital for preserving both the sub-floor and its load-bearing capacity and ensures dustless tile removal.
Assess the Potential for Uneven Surfaces Post-Removal
Residual adhesive, debris, and removal-induced damage can leave an uneven sub-floor, making it difficult for new tiles to adhere evenly. An uneven surface not only affects aesthetics but also creates a potential tripping hazard. Thorough cleaning and repair are essential for a level, professional finish.
Investigate How Hidden Damages Can Arise Unnoticed
Without careful inspection, moisture seepage, wood rot, or other structural weaknesses may hide beneath the surface. These hidden issues can lead to costly repairs later, including mold growth or even health risks from carcinogen exposure during dustless tile removal processes. Regular evaluation and timely repairs are crucial.
Consider the Time and Cost Implications of Skipping Preparation
While skipping preparation might seem to save time and money initially, it often results in higher costs later through repair work, additional labor, or complete reinstallation. Proper sub-floor preparation is a cost-effective strategy that prevents delays and extra expenses.
Review Case Studies Reflecting Mishaps From Poor Preparation
Real-world examples highlight that neglecting moisture testing or thorough inspection can lead to extensive water damage and mold outbreaks. These cases emphasize the importance of adhering to proper sub-floor preparation protocols to avoid such setbacks.
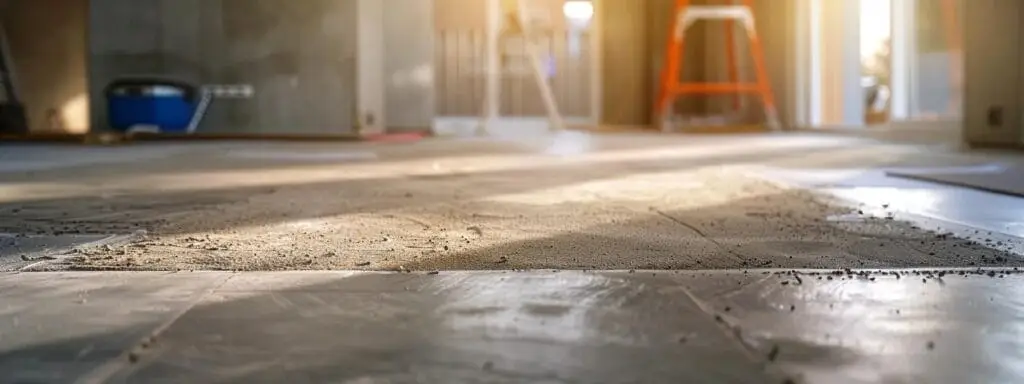
Explore Effective Techniques for Sub-Floor Preparation

Implementing effective techniques for sub-floor preparation is essential for successful tile removal and installation. This involves several key steps aimed at creating a smooth, level, and clean base for your new tile.
Discuss the Best Practices for Clearing Existing Tile and Adhesive
Removing old tiles and adhesive carefully is the first step. Use specialized tools such as dustless floor removal machines and chisels to reduce risk of sub-floor damage. Working slowly ensures minimal residue remains, which is crucial for the bond of new tiles.
Outline Steps to Repair Cracks and Imperfections in the Sub-Floor
After tile removal, identify any cracks or imperfections. Use repair compounds or patching materials specific to your sub-floor type—whether wood, concrete, or OSB—to fill voids. Smoothing these repairs with a trowel prevents future tile cracking or shifting.
Detail Methods to Ensure the Surface Is Level and Smooth
A level sub-floor is key for a flawless tile installation. Begin with a thorough cleaning to eliminate dust and debris, then use a self-leveling compound to correct dips or high spots. Sanding may further smooth the surface, ensuring uniformity for optimal adhesion.
Recommend Tools Necessary for Effective Preparation Work
High-quality tools such as dustless tile removal systems, pry bars, moisture meters, self-leveling compounds, patching tools, and sanding equipment improve work quality and efficiency. These tools help in executing repairs and leveling tasks with precision.
Highlight the Importance of Thorough Cleaning Post-Preparation
Any residual dirt or debris can prevent proper adhesion of new tiles. After repairs and leveling, use a vacuum with a HEPA filter and a damp mop to clear the sub-floor completely. This ensures a clean, adhesive-ready surface that is critical for a durable tile installation.
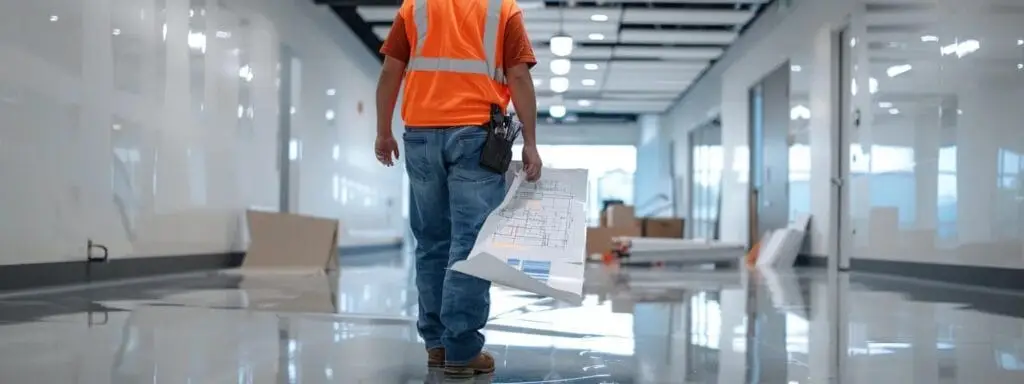
Discover the Benefits of Hiring Professionals for Preparation
Hiring experienced professionals for sub-floor preparation often leads to a smoother, more reliable project outcome. Contractors bring specialized knowledge, efficient techniques, and the right tools to significantly reduce risks and avoid costly mistakes.
Weigh the Advantages of Professional Expertise in Sub-Floor Tasks
Professionals can detect subtle issues that an untrained eye might overlook. Their familiarity with industry standards and advanced equipment results in thorough and reliable work that minimizes future tile failures and sub-floor damage.
Understand Potential Savings in Time and Effort With Experts
Professional teams streamline the labor-intensive process, cutting down project durations dramatically. This efficiency minimizes disruptions and ensures that your renovation moves forward without unnecessary delays.
Review the Quality Assurance Provided by Skilled Professionals
With warranties and post-installation support backing their work, professionals often offer peace of mind with proven quality assurance. Their adherence to safety and quality standards makes a lasting difference in the final tile installation.
Compare DIY Preparation With Hiring Trained Specialists
While DIY methods may seem cost-effective, they often lack the precision and expertise required for proper sub-floor preparation. Hiring specialists ensures that the project is executed correctly the first time, reducing the risk of later repairs and additional expenses.
Analyze Customer Testimonials Regarding Professional Services
Many customers report exceptional results with
, noting fewer issues post-installation and reduced need for additional repairs. These testimonials reinforce the value provided by experienced contractors.
Determine the Cost Implications of Sub-Floor Preparation
Understanding the cost implications of proper sub-floor preparation helps you budget effectively for your tile removal project. Although it is an upfront investment, a well-prepared sub-floor saves money over time by preventing premature tile failure and reducing maintenance costs.
Itemize Costs Associated With Different Preparation Methods
Costs may include labor, materials such as repair compounds and self-leveling mixtures, cleaning products, and possibly tool rentals. Knowing these expenses in advance helps in planning an efficient budget.
Assess Potential Long-Term Savings From Thorough Preparation
Investing in quality preparation reduces the likelihood of costly future repairs, reinstallation, or additional labor. Over time, this proactive approach minimizes both energy use and overall maintenance costs.
Explore Financing Options for Hiring Flooring Professionals
If professional services appear expensive, explore financing options such as payment plans or promotions. Many companies offer terms that make it easier to manage expenses without compromising on quality.
Discuss Warranties and Guarantees Related to Quality Work
Professional services often include warranty guarantees, ensuring that you are protected against future defects. These guarantees provide extra assurance of long-term durability and quality.
Break Down the Budgeting Process for a Tile Removal Project
Include not only the cost of new tiles and installation but also the expenses related to sub-floor preparation. A detailed budget plan will help balance quality against cost-effectiveness while ensuring that your renovation stays within financial limits.
Learn How Sub-Floor Preparation Affects Future Flooring Choices
The condition of your sub-floor influences which flooring materials work best for your project. Whether you choose porcelain, ceramic, wood, or natural stone, a well-prepared base ensures that your chosen material adheres properly and lasts longer.
Examine How Preparation Influences the Installation of New Flooring
A properly prepared sub-floor provides a uniform surface that adapts well to various flooring materials. This adaptability is key to achieving a long-lasting installation, regardless of the tile type or adhesive used.
Consider How Sub-Floor Condition Impacts Tile Type Selection
Assessing the sub-floor condition helps determine which tile types—be it heavy porcelain or delicate natural stone—will perform optimally. Matching the floor’s stability with the tile’s requirements ensures longevity and aesthetic appeal.
Discuss Environmental Factors Related to Different Flooring Options
A dry, sealed sub-floor supports materials that are sensitive to moisture and temperature variations. This environmental stability is crucial for maintaining indoor air quality and preventing mold, making it an important consideration for both residential and commercial
.
Review Trends in Flooring Materials and Their Compatibility
Modern trends favor environmentally friendly, durable, and versatile flooring options. By aligning your sub-floor preparation with these trends, you ensure that your renovation meets both functional and aesthetic expectations.
Provide a Guide to Selecting the Right Flooring Post-Preparation
Once your sub-floor is properly prepared, choosing the right flooring becomes simpler. Evaluate material durability, style compatibility, and installation methods to find the option that best meets your needs—whether for a home renovation or a corporate service project.
Frequently Asked Questions
Q: Why is sub-floor preparation important before tile removal? A: It ensures a level, clean surface for proper tile adhesion and reduces the risk of future installation failures.
Q: What common issues arise from unprepared sub-floors? A: Issues include uneven surfaces, hidden damage, and an increased risk of tile failure due to poor adhesion.
Q: Can I handle sub-floor preparation myself, or should I hire a professional? A: While DIY is possible, hiring professionals minimizes risks, saves time, and reduces future repair costs.
Q: How do moisture levels affect tile installation? A: Excess moisture can compromise adhesive bonds, causing tiles to lift and leading to structural issues. For more information, visit our FAQ page.
Q: What are the cost benefits of investing in proper sub-floor preparation? A: Proper preparation lowers the risk of future repairs, ensures long-term durability, and ultimately saves money by avoiding rework and extra maintenance expenses, including flooring installation.

